
baby shower
How to Make a Baby Shower Invitation Website in Canva (Step-by-Step)
 By Giggles & Scribbles
July 18, 2026
5 min read
By Giggles & Scribbles
July 18, 2026
5 min read

Making a baby shower invitation website sounds technical — like something you'd need a web designer for. It isn't. If you can type a name into a text box, you can build a beautiful, fully interactive invitation website in about ten minutes, using a free Canva account.
This is the exact process, start to finish. By the end you'll have a live link with your shower details, a clickable registry, and a built-in RSVP form ready to share.
(New to the whole idea? Start with What Is a Baby Shower Invitation Website? for the big picture, then come back here to build yours.)
What you'll need
- A free Canva account (no paid subscription required)
- Your shower details: date, time, address, registry link, and RSVP-by date
- A website invitation template — this is the shortcut that does 95% of the work for you
You could start from a blank Canva page, but you'd spend hours on layout, fonts, and mobile spacing. A ready-made template means the design is already done and mobile-friendly — you're only changing the words.
One link. Everything included.
Invitation Websites Your Guests Open on Their Phone
Built-in RSVP form & clickable gift registry — editable in Canva in 10 minutes.
-
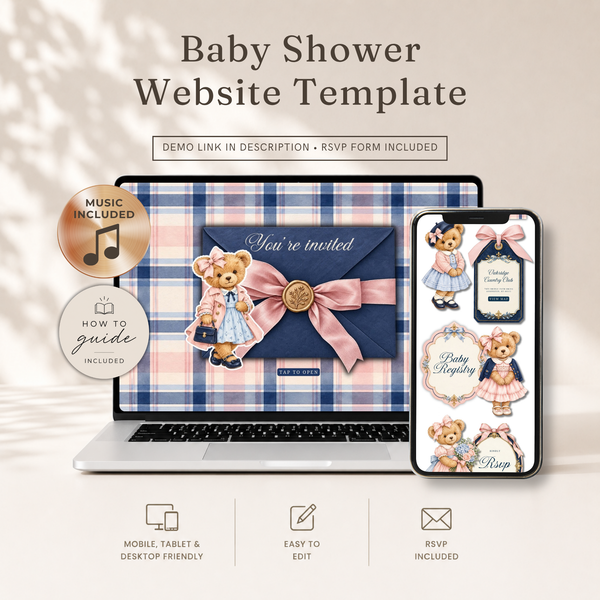 Baby Shower
Polo Bear Girl Baby Shower Website Invi...
€22,95
Baby Shower
Polo Bear Girl Baby Shower Website Invi...
€22,95
-
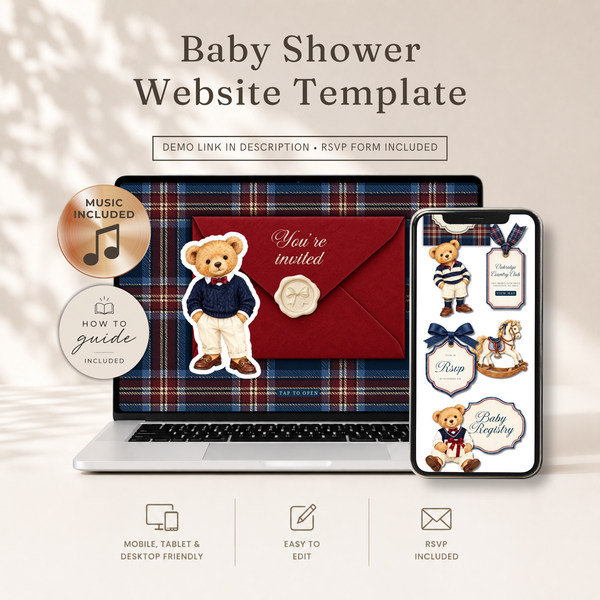 Baby Shower
Polo Bear Baby Shower Website Invitatio...
€22,95
Baby Shower
Polo Bear Baby Shower Website Invitatio...
€22,95
-
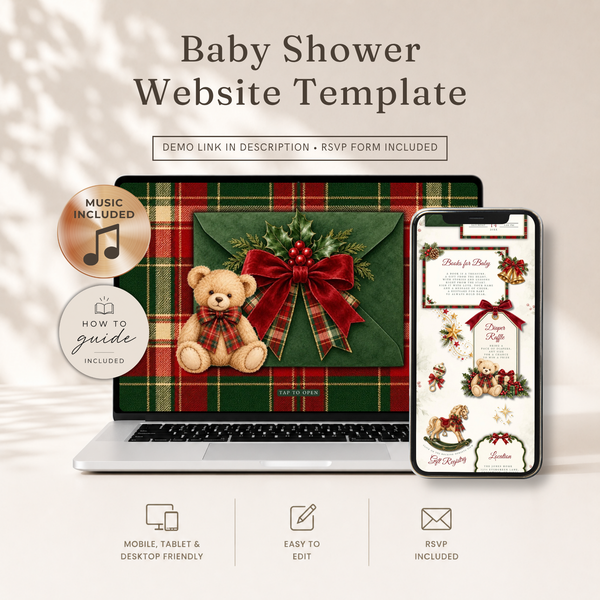 Baby Shower
A Merry Little Baby Christmas Baby Show...
€22,95
Baby Shower
A Merry Little Baby Christmas Baby Show...
€22,95
-
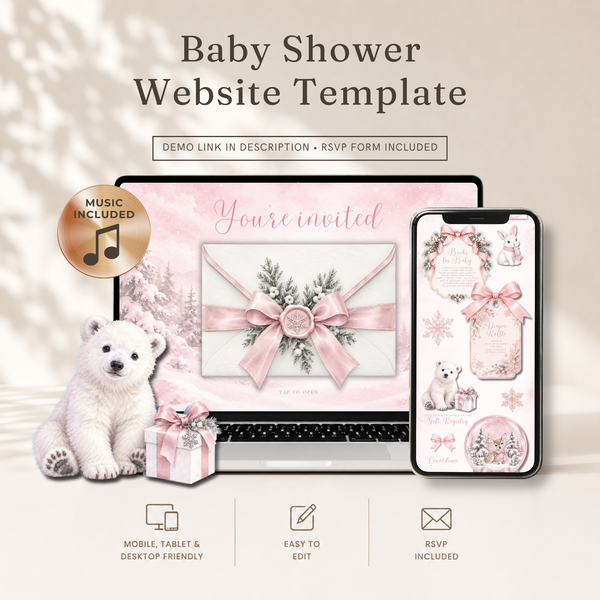 Baby Shower
Pink Snowflake Baby Shower Website Invi...
€22,95
Baby Shower
Pink Snowflake Baby Shower Website Invi...
€22,95
-
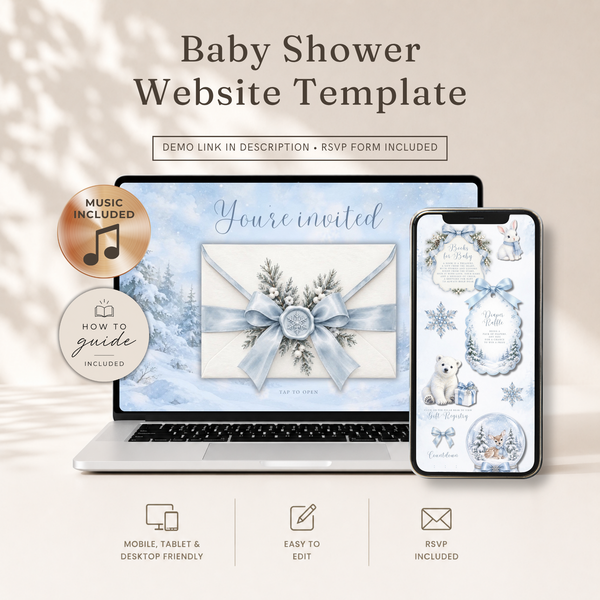 Baby Shower
Little Snowflake Winter Baby Shower Web...
€22,95
Baby Shower
Little Snowflake Winter Baby Shower Web...
€22,95
-
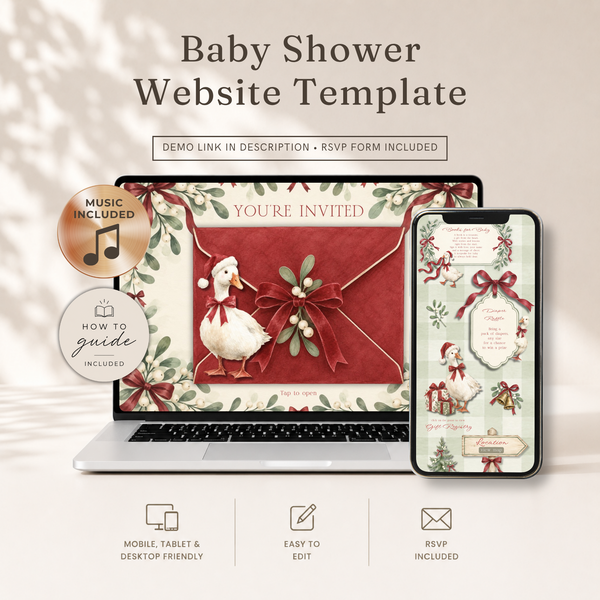 Baby Shower
Christmas Goose Baby Shower Website Inv...
€22,95
Baby Shower
Christmas Goose Baby Shower Website Inv...
€22,95
-
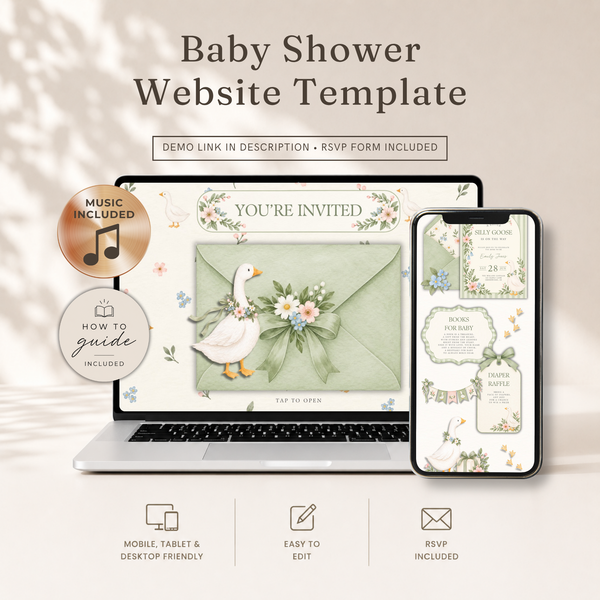 Baby Shower
Little Goose Baby Shower Website Invita...
€22,95
Baby Shower
Little Goose Baby Shower Website Invita...
€22,95
-
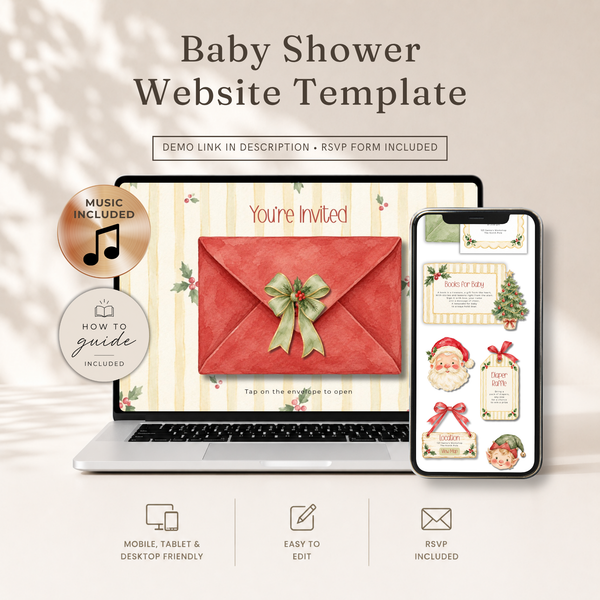 Baby Shower
Christmas Baby Shower Website Invitatio...
€22,95
Baby Shower
Christmas Baby Shower Website Invitatio...
€22,95
Step 1: Choose and open your template
Pick a design that matches your theme — woodland, citrus, western, neutral bear, whatever fits your shower. After checkout you get instant access and a link that opens the template directly in Canva. Click it, and Canva makes your own editable copy. The original stays safe, so you can never "break" anything.
Take a moment to scroll through the whole design first so you know what you're working with. Most templates include a hero section, an event-details section, a registry button, and the RSVP area.
Step 2: Change the text to your details
This is the bulk of the work, and it's the easy part. Click any piece of text and type over it:
- The parent-to-be's name (and both names for a couples shower)
- Date, day of the week, and start time
- The venue name and full address
- Your RSVP-by date
- Any extras — dress code, theme, "books instead of cards," parking notes
Work top to bottom so you don't miss a section. If you're not sure how to phrase things, grab a ready-made line from our baby shower invitation wording examples and paste it straight in.
Step 3: Make it yours (colors and fonts)
Your template already looks good, so this step is optional — but it's fun. In Canva you can:
- Swap colors to match your theme using the color picker
- Change fonts by selecting text and choosing a new one from the menu
- Replace or add a photo if your design has a photo spot
A gentle tip: change one or two things, not everything. The templates are designed to look balanced, so small tweaks keep that polish. If you recolor, use two or three colors max so it stays elegant.
Step 4: Add your registry and map links
This is where a website beats a paper card. Instead of writing out "Registered at..." and hoping guests search for it, you attach the actual link:
- Click the registry button or text.
- Open the link tool (the chain icon, or press Ctrl/Cmd + K).
- Paste your registry URL and apply.
Do the same for your venue — link the address to a Google Maps location so guests can tap for directions. Now every important detail is one tap away.
Step 5: Set up the RSVP form
Your template comes with a built-in RSVP form already in place, so guests can reply right on the website. You'll connect it so responses come to you, then every answer is collected automatically — no spreadsheet, no chasing texts.
Because this is the feature hosts ask about most, we wrote a dedicated walkthrough: How RSVP Tracking Works on a Digital Invitation. It shows exactly how responses are gathered and where to read your headcount.
Step 6: Publish and get your link
When your details are in and everything looks right:
- Click Publish as website (Canva calls it "Website" in the share menu).
- Choose the free "my.canva.site" option — perfectly fine for a shower.
- Canva generates your live link.
Open the link on your own phone first and click around: test the RSVP form, tap the registry, check the map. Seeing it exactly as your guests will is the best final check.
Step 7: Share it with your guests
Now the easy part. Copy your link and send it however you normally reach people:
- Drop it in the group chat or a WhatsApp broadcast
- Text it to individual guests
- Paste it into an email
- Add it to a printed card as a QR code, if you're mixing paper and digital
One link does the work of an invitation, a registry card, a map, and an RSVP card combined.
A few tips to make it look effortless
- Proofread the date and address twice. They're the two things guests screenshot — get them right.
- Keep it to one screen of scrolling where you can. Guests skim on phones.
- Send it 4–6 weeks before the shower so people can plan.
- Pin the link in the group chat so no one has to scroll to find it later.
How long does this really take?
Most hosts finish in about ten minutes because the design work is already done. If you're recoloring, adding photos, and fussing over fonts, give yourself twenty. Either way, it's faster than a trip to the print shop — and there's nothing to reprint if a detail changes.
Ready to build yours?
Pick a design you love and you're most of the way there. Every template is editable in Canva, works on the free plan, and includes the RSVP form built in.
Browse invitation website templates with RSVP →
Choose your theme, spend ten minutes in Canva, and share one link that has everything your guests need.
Giggles & Scribbles
Editable Canva invitation templates & live invitation websites with RSVP — for baby showers, birthdays, and every celebration in between.